How to Make Lined Pinch Pleat Drapes
I’m so excited to share with you this tutorial. Last week, my fabric came in and I spent a whole night sewing sheets for my guest bedroom.
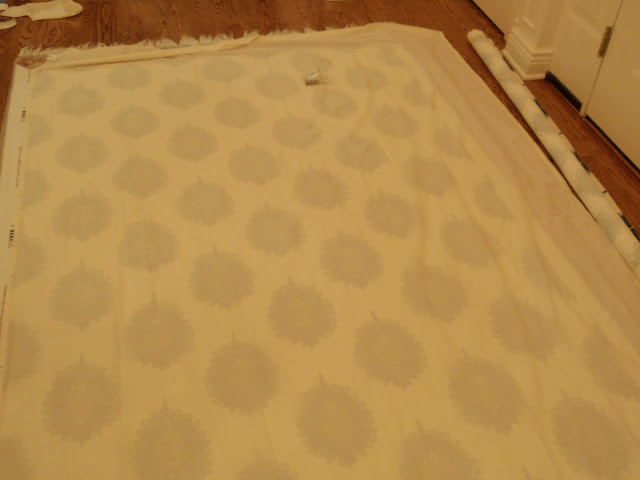
It all started when, at Calico Corners, I found this amazing fabric.
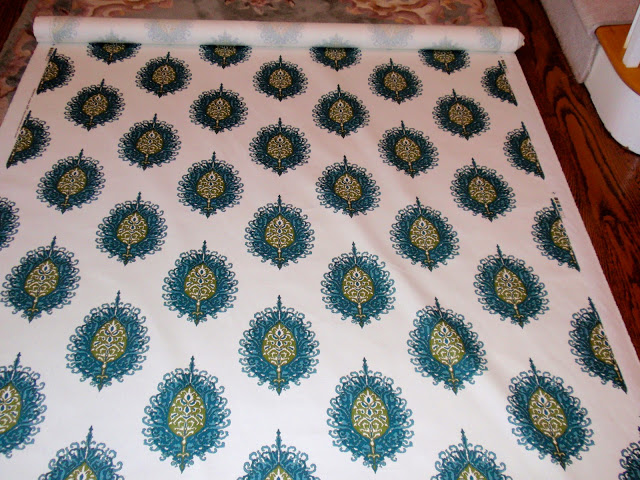
I fell in love with the fabric and ordered six yards on the spot to make my guest bedroom new drapes.
I began by rolling the fabric out and cutting the fabric to the length that I wanted. By measuring from the existing rod to the floor, I defined this length. The final length of the sheets would be 85 in my case.” I added 6″ for the bottom hem and 4 inches for the top for a total of 95.” I took the fabric after cutting the first 95″ length and laid it over the cut piece and lined up the pattern and cut a second 95″ length for the second panel after cutting the first 95″ length. So I made sure I would end up with two similar panels lining up the pattern.
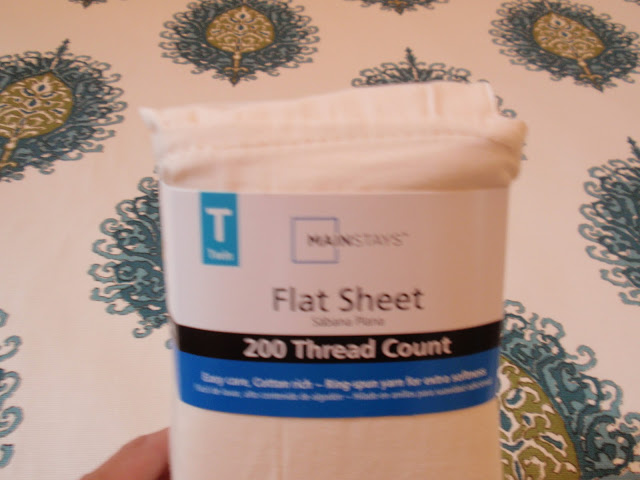
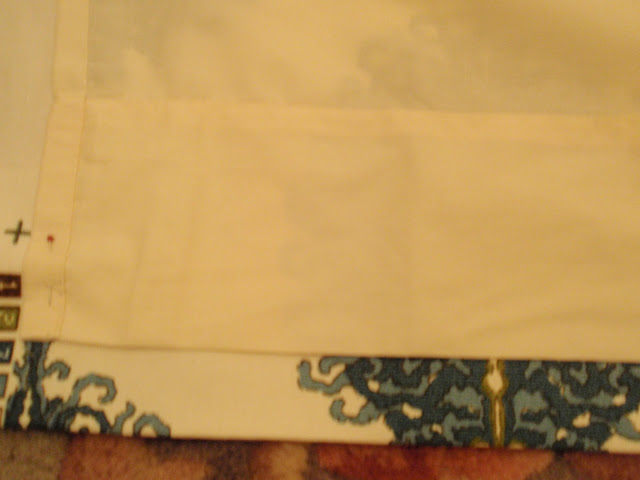
I bought two flat sheets from Walmart for $5.00 each for the liner. For many factors, flat sheets perform so well. It was a far more cost-effective alternative, first of all. Secondly, the flat sheet is already hemmed in. Both sheets I ironed.
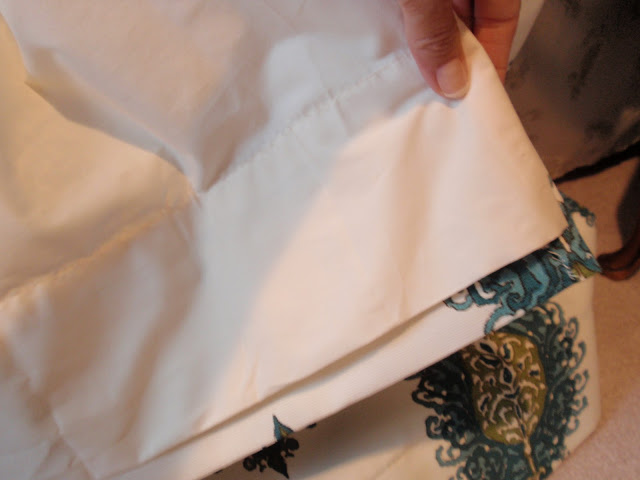
Next stage: The hem on the bottom. I started by folding the fabric up 2″ and ironing it. Next I folded the fabric up an additional 4″. Then, I blind-stitched the hem for a professional look. Later in the week, I will be doing a tutorial on blind-stitching. It was the first time I made one, and let me tell you, it made the final product a world of difference.
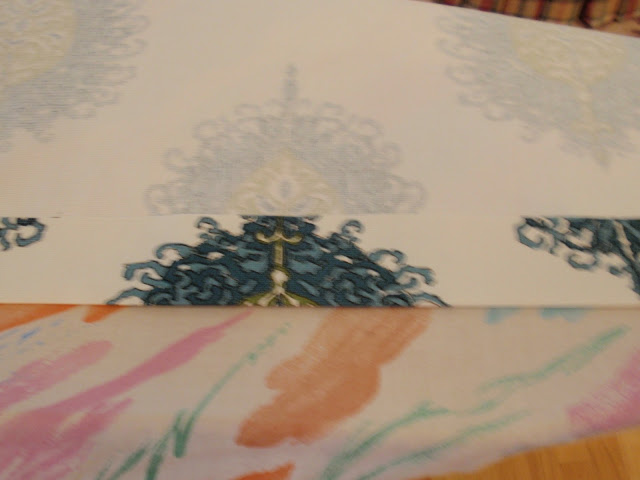
Then it was time to apply the lining to it. I laid the lining with the right sides facing together (the flat sheet).
I pinned the lining on the sides and on the top to make sure that the bottom was approximately two inches. Then I sewed all three sides along. Then turn back the drapes on the right side and press flat on the sides and top.
The flat sheet already has, as you can see, the ideal hem. One step less !!
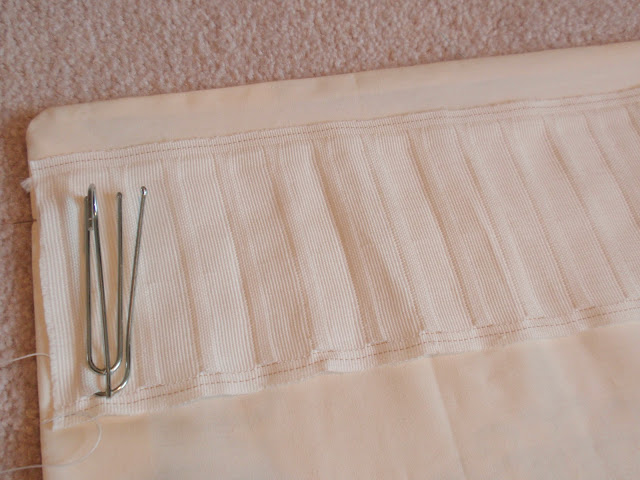
Now I was able to get the pinch pleats. I purchased this pleater tape a few years ago from JoAnn, who always wanted to use it on drapes. This was the ideal chance, I thought. It worked well. Everything I did was position it near the top of my drape to ensure the correct length by measuring it from the hook. I then sewed it on top and bottom to make sure I didn’t sew over any of the Hook’s openings.

I inserted the pleater hooks then. There are four “fingers” in the pleater hooks. For each finger, I skipped every other pocket and then skipped two pockets between each hook. I forced the fingers in as far as they’d go, then.
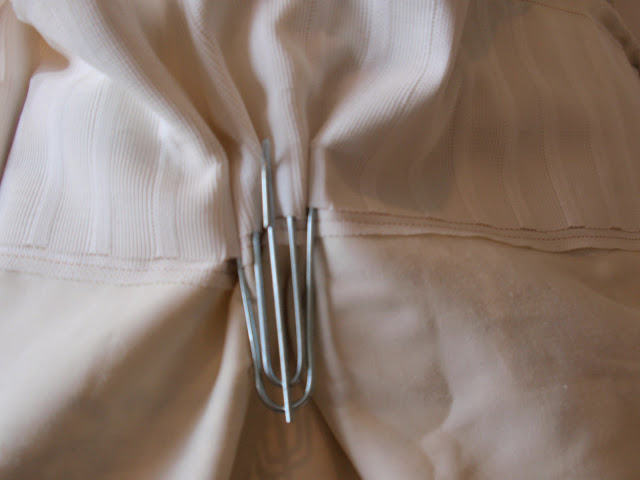
Then I adjusted the pleats in order to precisely line them up. To help them retain their form, I then pressed the pleats.
Using heavy duty thread, I finally sewed each group of pleats together. In each group of pleats, I placed only two or three stitches.
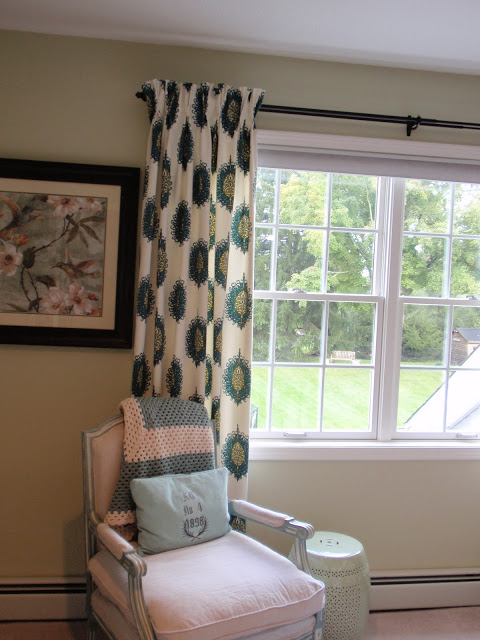
I just hung the hooks over my curtain rod then. These are dummy panels, so they’re not going to move. You would have the hooks in the traverse rod if you had a transverse rod, and then you would be able to open and close the drapes.
This was my first time ever making lined drapes and my first time making pleated drapes. It was time consuming, but not difficult at all, really. You can render these drapes if you can stitch a straight line.
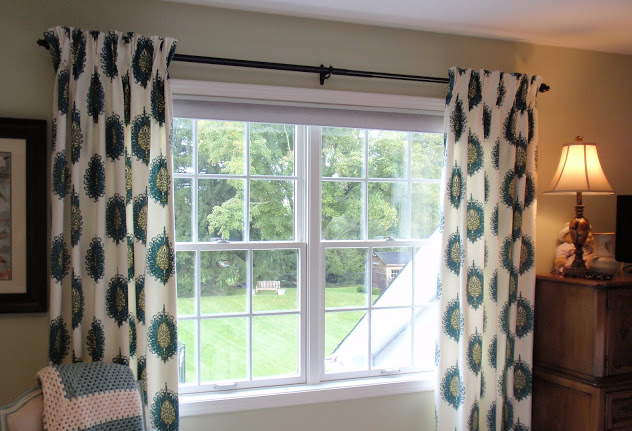
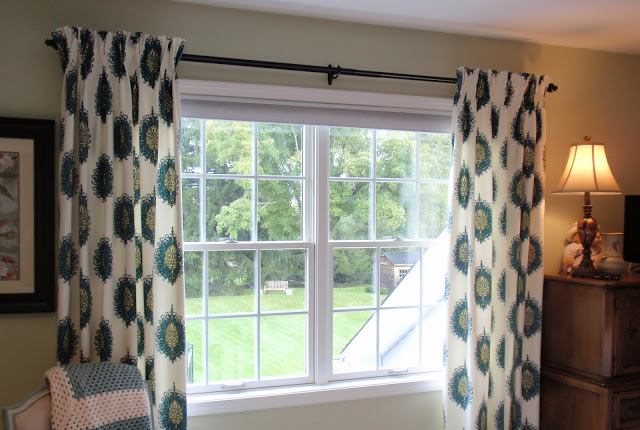
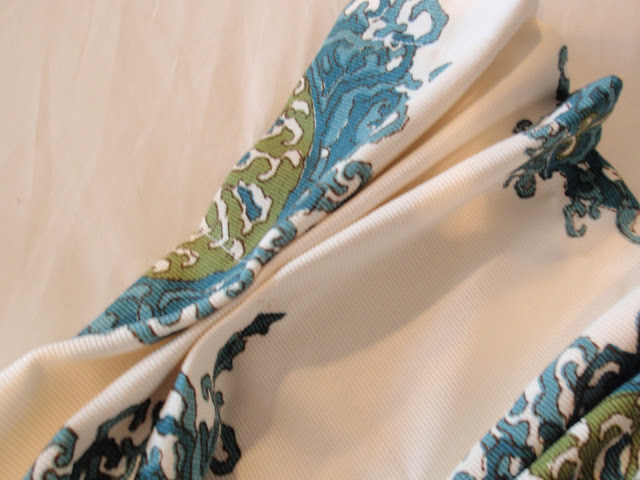
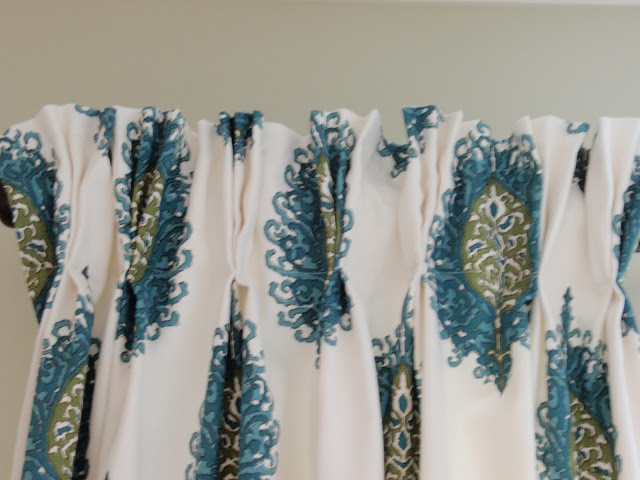
You can see how in the picture the pattern lines up. To ensure the finished patterns match up, make sure to cut both fabric panels at the same time.
With the end result, I am so pleased. To my guest room, they bring so much life.
I hope this is what you’ll try. Please feel free to e-mail me if you have any questions. I’d be happy to help you.